Showing posts with label gifts. Show all posts

Friday, August 16, 2013

Scalloped shorts


I love these new scalloped shorts of mine. I made them from an old pair of capri pants. I used this amazing tutorial which uses a skirt, but can be easily adapted for shorts. They are a liiiitle short for me, but it gets pretty hot around here, so I feel like they work!

Friday, August 9, 2013

Decoupaged table with book pages


We'd been using this old table to hold some of Jack's toys in his room. Ugh, pretty depressing right?
I think I found it in Golden Gate Park in San Francisco when I was pregnant with him. Anyway, it REAAALLLY needed an update.

 See the fake wood bubbling? I knew it needed more than just a paint job. So I took it apart which was easy since it was just screwed together.


I thought about leaving the legs 'natural' since they still looked okay and thought it may add some interest. I did polish them up a bit with this restorer. Then I painted the top and bottom shelves green. I had some spray paint left over from this project.


Then I rummaged through Jack's books to find an old one with cool art. A few years ago I picked up a box of old books from a school sale. There were a few with pretty cool illustrations but that were otherwise pretty trashed (no covers, pages missing...) I thought this one would be perfect for this project.


 I measured the shelves and cut out a template for my paper 'tiles.' I needed 16 for the table. The book had exactly that many pages, including the title page. I probably wouldn't have included that one if I had enough pictures, but I think it actually looks pretty cool (and now we'll always know what book we used!)


 Then I painted the tops of the shelves (one at a time) with a thin coat of Mod Podge. You can find this in any craft store. I used the matte, but you can use whichever you prefer. I love this stuff.


I decided to start with the bottom shelf in case I ran into problems, I'd figure them out before I did the top. I'm glad I did this since my first attempt resulted in some major bubbling. After doing some research and messing around with the process, I found that I achieved the best results this way:

1. Paint a thin coat on your surface.
2. Position your paper where you want it.
3. Press it and smooth the paper down, concentrating on those edges! Do your best to get the bubbles out.
4. Wait for that bottom layer of Mod Podge to dry before...
5. Applying a top coat. Wait for that to dry.
6. Put two more coats on, waiting for the Podge to dry completely in between. Some coats took 20 minutes to dry, but it seemed as the layer got thicker it took longer.


And Voila! So much better!


Tuesday, July 30, 2013

Got my first Birchbox!


 Birchbox is a company that sends out a box of deluxe beauty samples to you every month, for a very reasonable $10/month subscription. This is my first one, but I am already awaiting August's. So far, I've just tried the coconut nourishing body cream (smells like heaven and stays put) and the Benefit Hello Flawless foundation (perfect shade for my skin and fun for dressing up.) Most of the products seem to be high end/ organic/ cruelty free, which is great. It reminds me of the little samples you get with your purchase at Sephora (or used to get, I should say.) Except you get way more things to try. Love it! So fun and so girly.


Friday, July 12, 2013

A dollar store puzzle and a galette--again


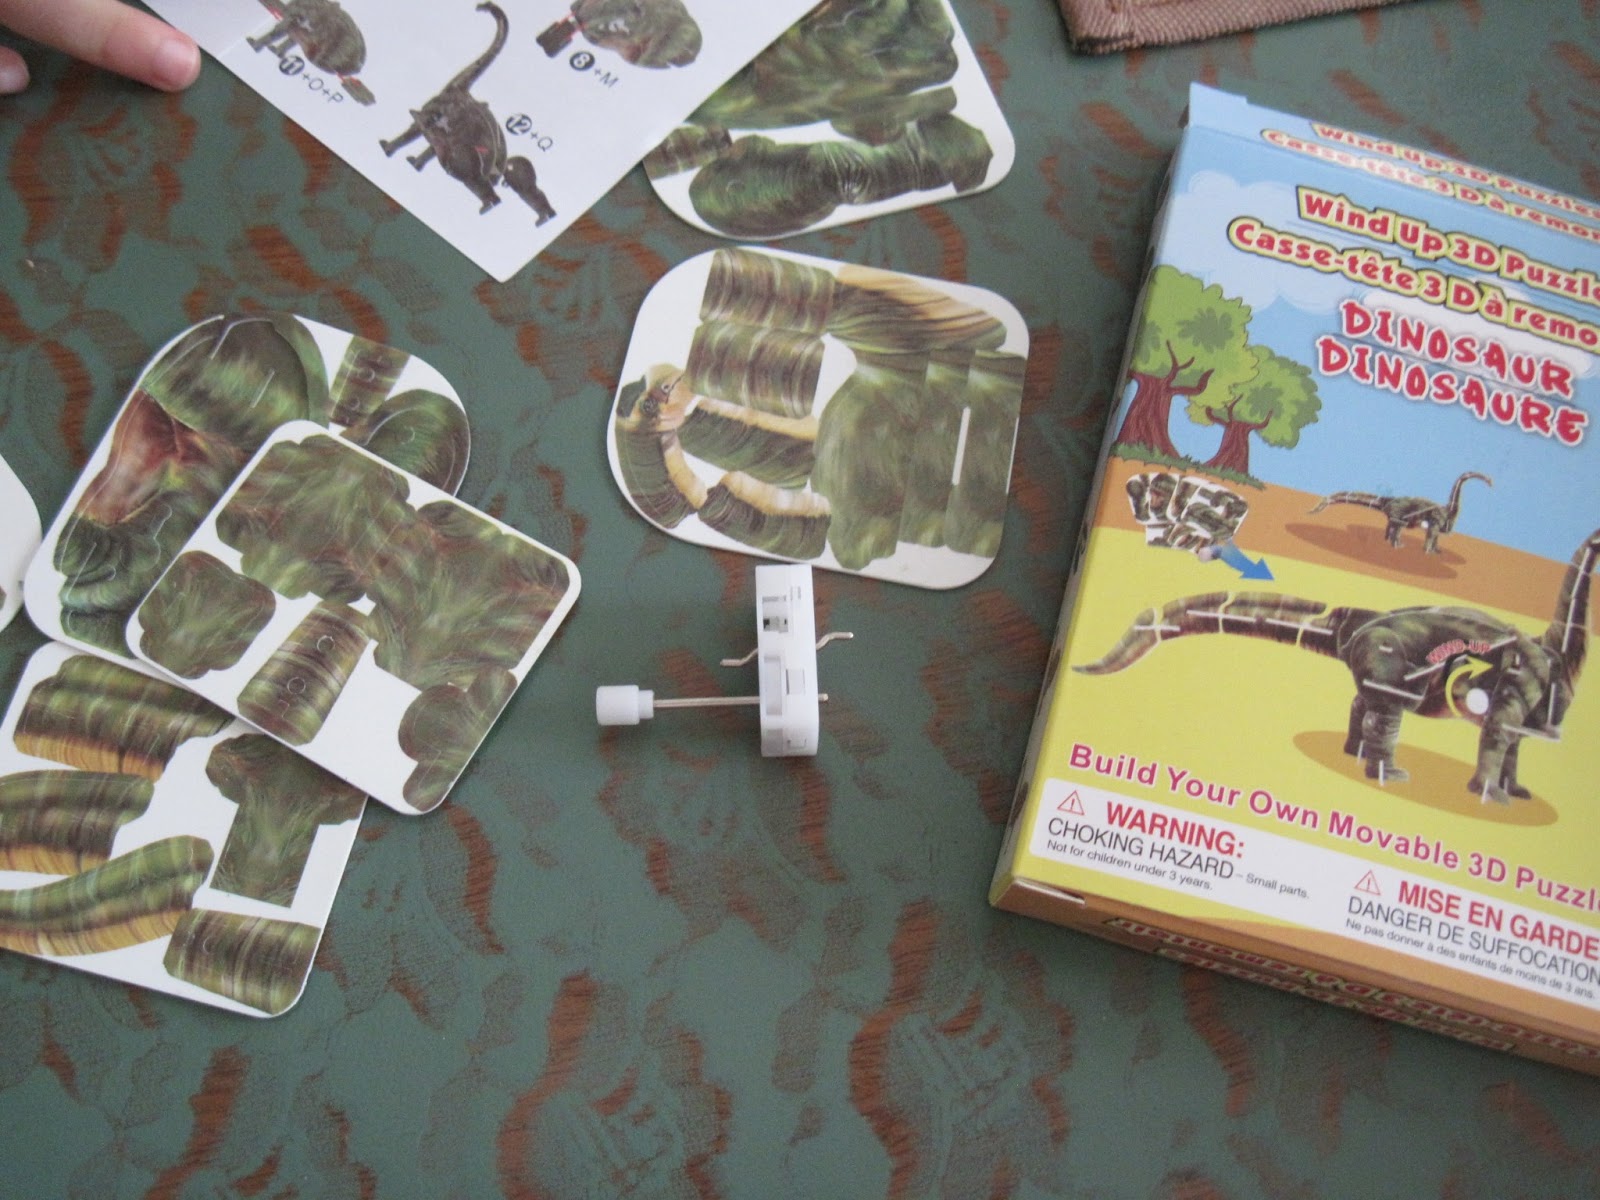
At a recent trip to the dollar store, I saw this 3-D dinosaur puzzle that comes with an actual machine to place inside it that makes it walk. I couldn't believe that something like this existed for $1, so I bought it just as a kind of joke, as in, yeah right, Dollar Store?!

Amazingly, it went together perfectly, with easy-to-follow instructions. And the thing actually walks. It's meant for ages 4 and up, but even I had a hard time with the tiny pieces. Too bad I just got around to making it-- I bought it weeks ago, and now I'm sure the store is out of them. They had cars that you could build and wind-up too, wish I'd gotten those as well...a good rainy day project.

And I can't stop making this cornmeal galette. This one is blueberry and yellow plum. It was yummy. (Very juicy though, as you can see. Thank goodness for parchment paper!)


Sunday, June 16, 2013

Lace painted table

Here is my attempt at recreating the lace painted table from my earlier post. Thanks to A Beautiful Mess for directions!


Here is our banged up, heat damaged table. It was always covered with a tablecloth. I know, sad, sad, sad.


Here is the table with some lace draped over it. I found the lace at Joann's for about $5 a yard. I needed three yards to cover this table and three leaves. Our table was 42 inches wide, so I needed lace that was at least that width. This was 43 inches, and that mere inch of 'extra' lace was barely enough to wrap around the edge of the table and tape down. Keep that in mind if you attempt this! Also, a curved table is more difficult to cover than one with straight edges, and the tighter you can make the lace, the better.


Here is the surface after spray painting and letting it all dry for one hour.


I would recommend applying a thin layer of paint, as those parts I attempted to cover more thoroughly just ended up looking a bit blurry, as you can see in this shot. Also, the paint was so thick, it kind of created a weird pattern on the paint when the lace was eventually removed. All in all, I'm happy with it though. It's a definite improvement!

Wednesday, June 12, 2013

Random notes from parenthood oblivion


I love this idea over at A Beautiful Mess for updating a tired old wood table. All you need is lace and spray paint.

And this is ridiculous but also pretty funny. For crying out loud, eat your cereal, Ryan Gosling.

I'm obsessed with The Skunkboy Blog. Like, obsessed. Katie has inspired me to start wearing actual outfits again and and to care about how my hair looks. Thank you for bringing me back from new motheritis. Now I only wear sweats at home.

And speaking of hairdos, here is a list of 20 great hair tutorials for long-haired gals like myself. I'm having fun with my hair again! Sorry for the enthusiasm, but I feel like I'm waking up from a long nap...

I made this lemon pie with a saltine crust that everyone on NPR raved about. My sister and her boyfriend loved it, but not me so much. Maybe a chocolate filling to go with the salty crust? Not lemon, anyway.

Finally, here is a really cute handmade baby toy that I think would be perfect for my little one.


Saturday, April 13, 2013

Superhero cape!

Someone requested a superhero cape. He wanted a green and black cape, the lightning bolt J was required since I made a similar mini cape for his stuffed monkey (now called 'Supermonkey.')


I started by taping some sheets of newspaper together to create a pattern.


I traced this onto green and black material, then sewed the two fabrics together, right sides facing.  I reinforced the insides of the collar, where I later sewed some velcro. He's a little rough with his toys, as most four-year-olds are, and since this is satiny material, I knew it would need some strengthening. I used Steam-A-Seam to iron some cotton fabric on the inside, where it wouldn't show. It worked great.


Then I turned the cape right side out (through the opening I left!) and stitched around the entire perimeter of the cape. Finally, I zig zagged the Superjack logo onto the back!

Wednesday, February 6, 2013

Bits and bobs

My wee new son is now six weeks old and the craziness that goes along with bringing a baby into the world is starting to calm down; I am trying to take it all in and treasure/survive these early days. Life at home with a four-year-old and a five-week-old (both boys, no less) is loud. It's loud and active and frankly, totally exhausting. But there's just something so wonderful about it all too...

In other news...

I love this hairstyle, so elegant yet breezy.

This is what I want for Valentine's Day, the most gorgeous color ever.

Since having my last C-Section, I've been looking at comfortable and cute underwear that doesn't rub along my sore tummy. These pairs look cute AND comfortable. Wish I'd have thought to buy them before I went into the hospital. I even sewed a pair of my own granny panties, pattern here. I used synthetic jersey, which wasn't as soft as I'd have liked. I'd love them in something really luxurious, like organic bamboo.

I'd like to have this for dinner tonight and these for dessert, just saying.

I'm working through these TED talks at the moment.

And I love these dishes but really, Anthropologie, three-hundred dollars for a cake stand that won't even stand up?

And this is the funniest thing I've read in a long, long time.

Sunday, December 9, 2012

Handmade baby shower gifts


One of my friends is expecting her first child. When considering what to give her, I thought of the item I used everyday with my baby that, before kids, I'd never even known existed and had no idea I would need so much. This, of course, is a nursing cover.

So I made this cover, boning and all, out of a pretty fabric I found at Joann's. It's a bit complicated to put together (it was my first time using boning) but this tutorial is excellent.

To round out the gift, I made this little soft rattle filled with jingle bells for the baby. I remember my little one loving rattles, but he'd inevitably drop them on his head--and crying would ensue. So I thought soft rattles=fun with no tears! I used the directions here to put it together.


Saturday, October 6, 2012

Pumpkin bread with cream cheese filling and homemade vanilla extract


Seriously, this looks so good I think I'm going to make it for dinner tonight.  Find the recipe here

I also made some homemade vanilla extract a few weeks back. I found the recipe in this awesome book that I got for Christmas last year.


The homemade vanilla is relatively simple to make, and pretty inexpensive when you consider how much a tiny jar of extract costs. This recipe makes a ton (about two cups worth) and uses just five vanilla beans (about $3 at Whole Foods) and two cups of vodka (the cost depends on the quality of vodka you use, I had Smirnoff on hand.)

To make it, you just gather a mason jar (mine held 16 oz. filled up to the very top,) some vanilla beans (5) and rum or vodka. Open and scrape the vanilla pods, stuff the seeds and the pods into the jar and fill it up with your alcohol.


Then let it sit for a few months before using, shaking every week or so. Mine should be ready around Thanksgiving, before I begin all my holiday baking. And I seriously go through a lot of vanilla, more so than liquor (especially now that I'm pregnant!) The flavor of the homemade variety is supposed to be much better. This is what mine looked like after I made it, but it's already much darker now after just a few weeks.


Tuesday, May 29, 2012

Pretty cake


Isn't this cake just the prettiest? I've never seen ruffles on a cake before. Great idea for a little girl's birthday cake, or a big girl's. Photo and directions at the paper pony.

Thursday, April 26, 2012

My sister's birthday gift


I made this video for my sister's birthday recently. I used Windows Live Movie Maker, which was really simple to learn and use.

It was inspired by this video that Wendy showed me, which is awesome embarrassingly accurate.


Wednesday, February 29, 2012

I want to make this!


 Isn't this hand-sewn bird just the prettiest thing you've seen all day?
The pattern can be found in this book:


Sunday, February 12, 2012

Valentine sandwich cookies and a sweet purse

We made up a quick batch of sugar cookies last night, using Martha's sugar cookie recipe, which follows here. I eyeballed a quick frosting and tinted it pink for Valentine's Day. We, oh who are we kidding, I then wrapped them up and personalized them with some little stamps. Jack will be bringing some to friends at his preschool.


 Valentine Sandwich Cookies
  • 4 cups sifted all-purpose flour
  • 1/2 teaspoon salt
  • 1 teaspoon baking powder
  • 1 cup (2 sticks) unsalted butter
  • 2 cups sugar
  • 2 large eggs
  • 2 teaspoons pure vanilla extract, or 2 teaspoons fresh lemon juice and zest of 2 lemons
  • 1/4 cup fine sanding sugar, for decorating (optional)
  1. In a large bowl, sift together flour, salt, and baking powder. Set aside.
  2. Use an electric mixer to cream butter and sugar until fluffy. Beat in eggs.
  3. Add flour mixture, and mix on low speed until thoroughly combined. Stir in vanilla or lemon juice and zest. Wrap dough in plastic; chill for about 30 minutes.
  4. Preheat oven to 325 degrees. On a floured surface, roll dough to 1/8 inch thick. Cut into desired shapes. Transfer to ungreased baking sheets; refrigerate until firm, 15 minutes. Remove from refrigerator, and decorate with sanding sugar, if desired. Bake until edges just start to brown, 8 to 10 minutes. Cool on wire racks.      Yield Makes about 16 large cookies or 30 2 1/2-inch cookies

In other news, I recently realized that the makeup bag in my purse is waay too big and takes up too much space in my bag. Rather than go out and buy one, I figured I'd make a quick pattern and whip one up. From start to finish, this little purse took all of two hours to sew--and the ribbon is sewn on my hand. I love quick, rewarding little projects.


Here's what I did:
First, I cut out long rectangular pieces from two fabrics. I used my quilting ruler to help make sure they were square, especially the point at the one end for the closing flap.


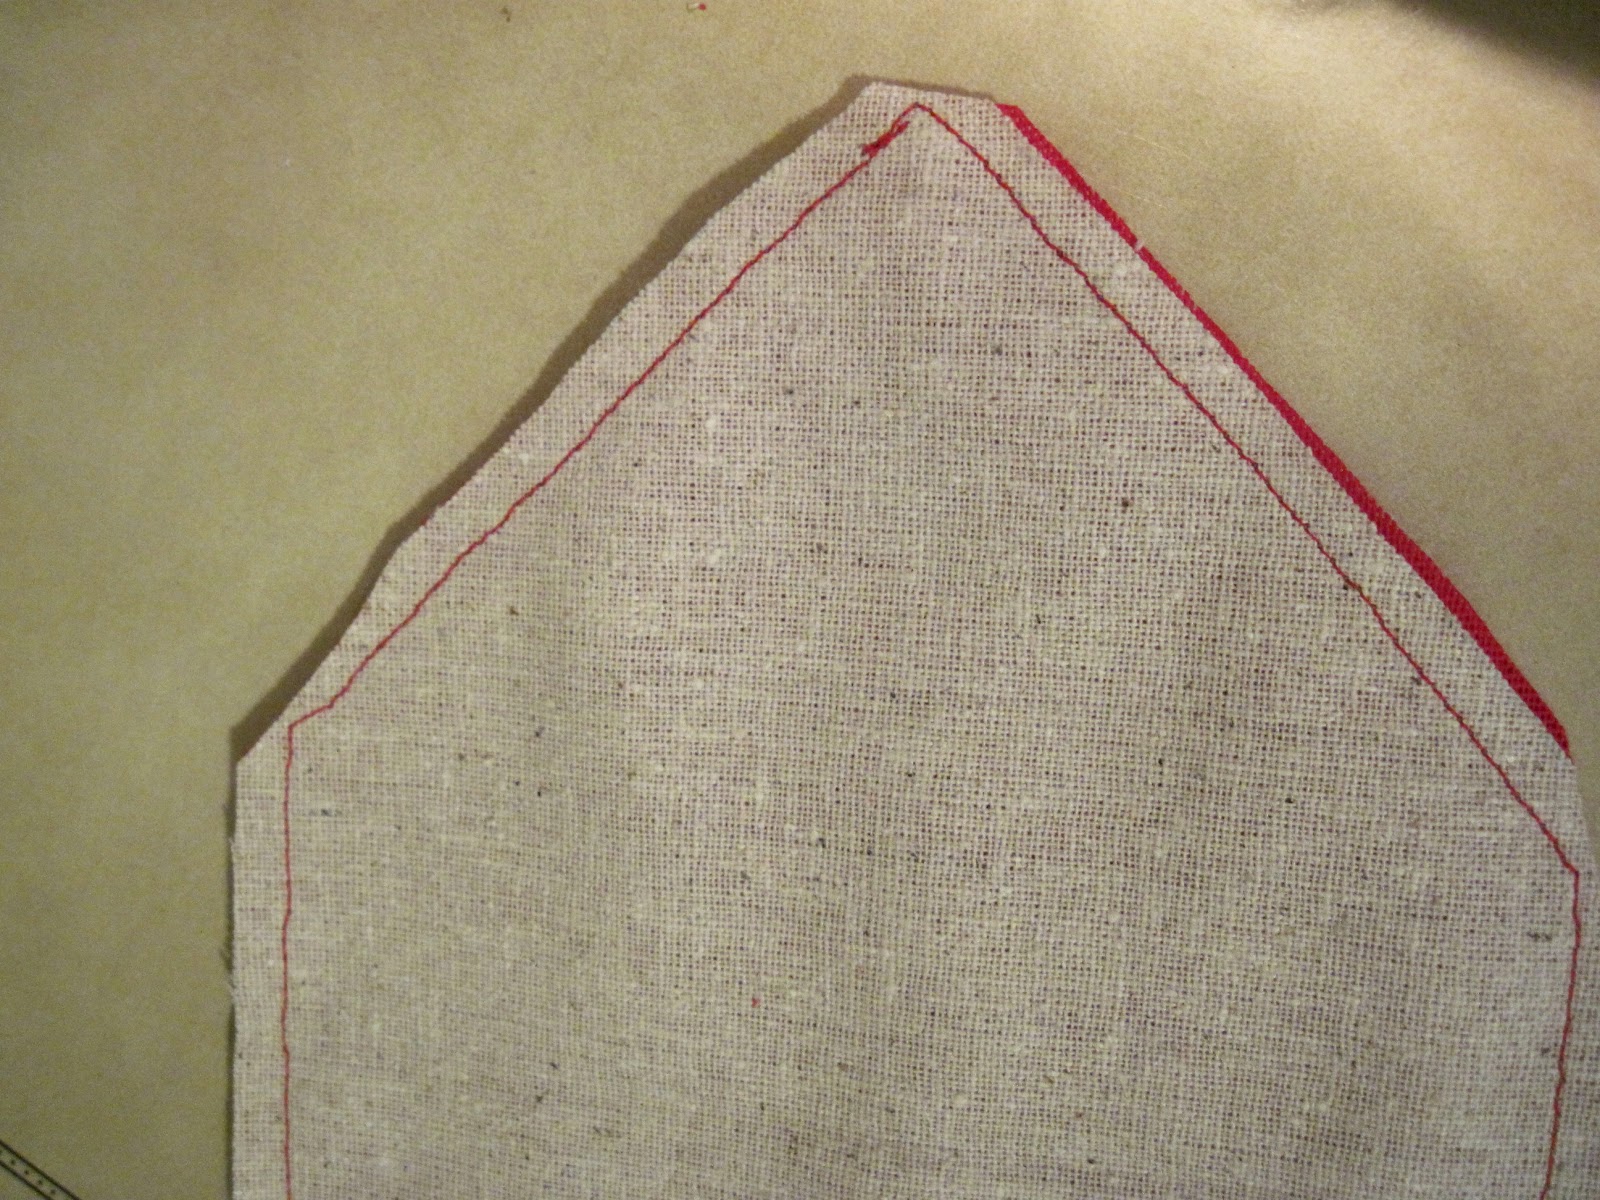
Then I sewed the layers together, right sides together, leaving the short, straight end open. I snipped the corners, then turned it out carefully.
Then I turned the open end in neatly and sewed that closed, sewing all around the perimeter of the piece, with about a quarter inch seam.
Then I folded it in threes, with the lining fabric on the inside. Mine is tan muslin. I also place the ribbon down, wrapping the ends in at one side.

 Then I ran it through my sewing machine and used short, strong stitches up the two sides.
Next, I pinned the ribbon around the base where I wanted it. (The ends were already sewn in when I stitched up the sides.) Then I hand sewed it on with dark blue thread.

And voila! Done.